Beginner 📅 Last Updated: July 1, 2026 ⏱️ 15 min read
How to Install Open WebUI with Ollama
⚡ Quick Answer
If Ollama is already running, install Open WebUI with one Docker command: docker run -d -p 3000:8080 --add-host=host.docker.internal:host-gateway -v open-webui:/app/backend/data --name open-webui --restart always ghcr.io/open-webui/open-webui:main. Then open http://localhost:3000 in your browser.
Who This Is For
Read this if: You have Ollama installed and working, and you want a ChatGPT-style web interface for your local models.
Skip if: Ollama is not installed yet. Start with How to Install Ollama.
What You Need
- Ollama installed and running (verify with
ollama list) - Docker installed (Docker Desktop on Windows/Mac,
docker.ioon Linux) - At least one model pulled (e.g.,
ollama pull llama3.1:8b) - 2GB free RAM for the container
- Time: 10–15 minutes
🔬 Tested On
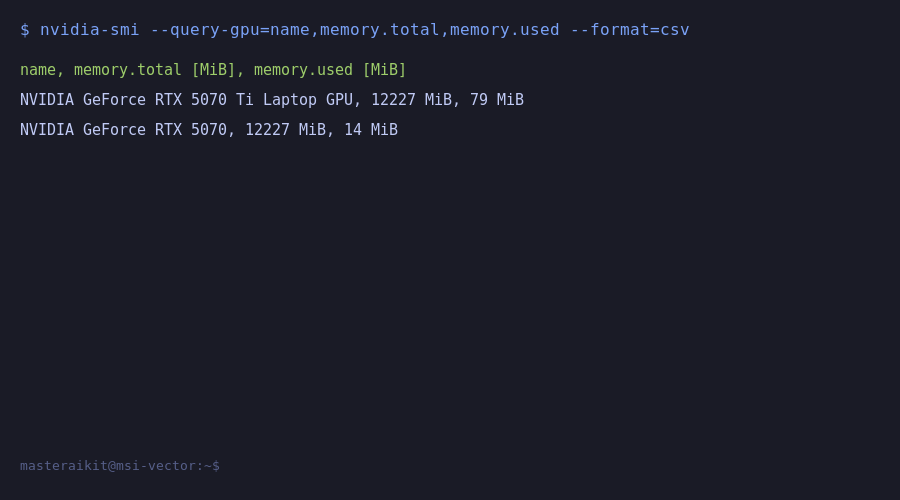
Machine: MSI laptop (dual GPU)
GPU: NVIDIA RTX 5070 Ti Laptop (12GB) + RTX 5070 (12GB)
CPU: Intel Core Ultra 7 255HX (20 cores)
RAM: 96GB
OS: Ubuntu 26.04 LTS
Docker: 27.x
Date: July 2026
Step-by-Step Guide
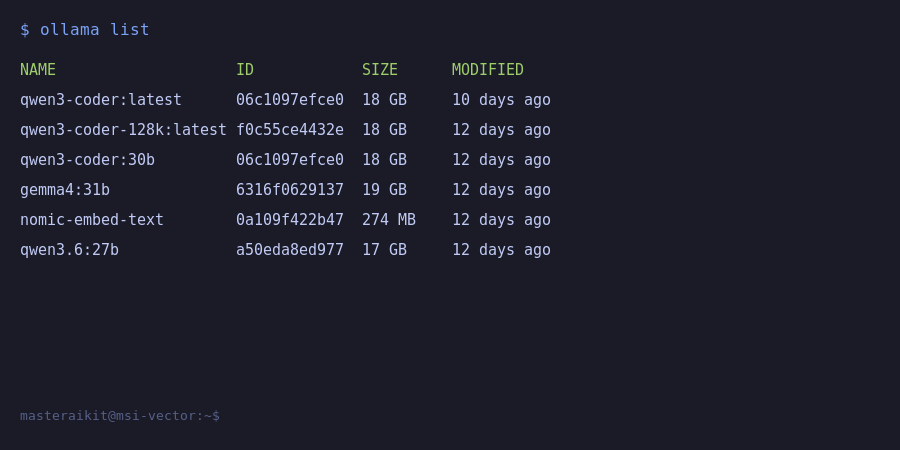
Step 1: Verify Ollama Is Running
ollama list
# Should show your models

ollama ps
# Should show Ollama process running
If Ollama is not running, start it:
# Linux
sudo systemctl start ollama

# macOS / Windows
# Ollama app should be running in background
Step 2: Install Docker (If Not Already Installed)
Linux (Ubuntu):
sudo apt update
sudo apt install docker.io docker-compose
sudo systemctl enable docker
sudo systemctl start docker
sudo usermod -aG docker $USER
# Log out and back in for group change to take effect
Windows / macOS: Download Docker Desktop from docker.com and install.
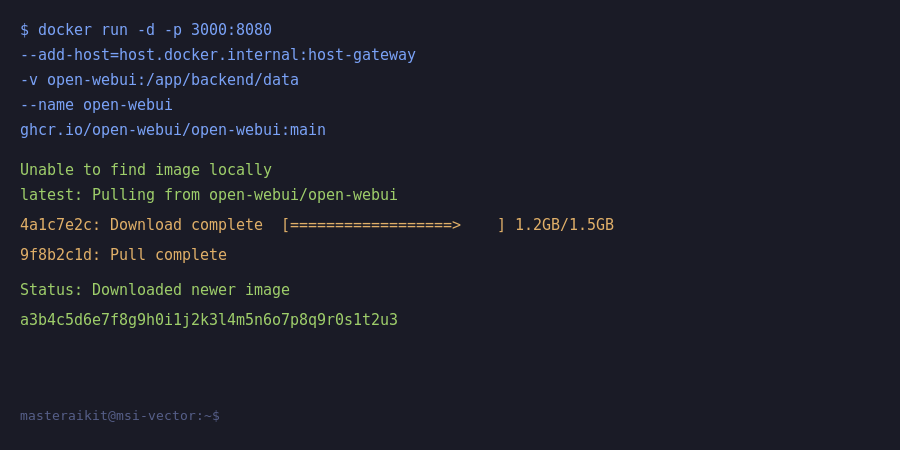
Step 3: Run Open WebUI Container
docker run -d \
  -p 3000:8080 \
  --add-host=host.docker.internal:host-gateway \
  -v open-webui:/app/backend/data \
  --name open-webui \
  --restart always \
  ghcr.io/open-webui/open-webui:main
This downloads the Open WebUI image (~500MB) and starts it. The key part is --add-host=host.docker.internal:host-gateway — this allows the container to connect to Ollama running on your host machine.
Step 4: Open the Web Interface
Open your browser and go to:
http://localhost:3000You will see the Open WebUI welcome screen. Create an admin account (this is stored locally — no data leaves your machine).
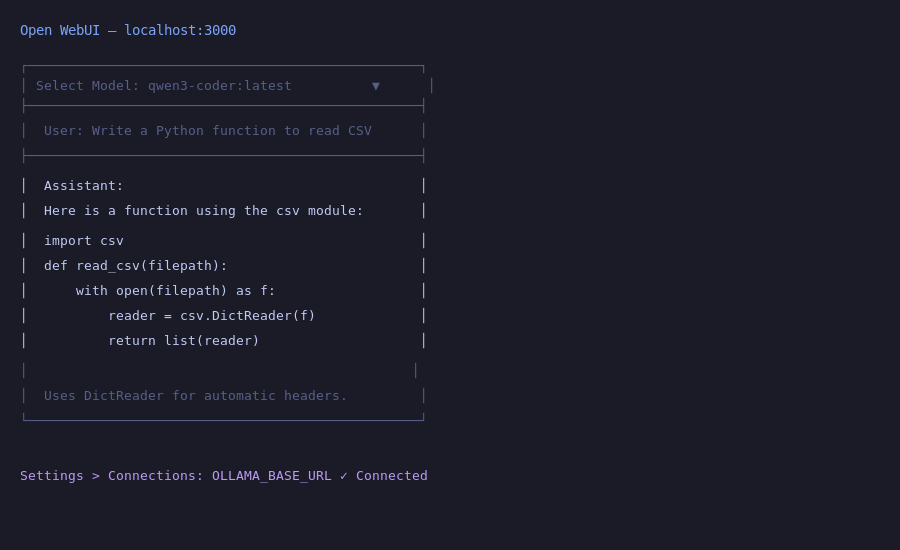
Step 5: Connect to Ollama
Open WebUI auto-detects Ollama in most cases. Verify in Settings → Connections:
- Ollama URL should be:
http://host.docker.internal:11434 - Click the refresh icon — it should show a green "Connected" status
Step 6: Start Chatting
Select a model from the dropdown (your Ollama models appear automatically). Start chatting!
Common Mistakes & Errors
Error 1: "Connection Refused" — Ollama Not Detected
Cause: Docker container cannot reach Ollama on the host.
Fix:
# 1. Make sure Ollama is running
ollama ps

# 2. Check the connection URL in Open WebUI settings
#    Settings → Connections → Ollama URL
#    Must be: http://host.docker.internal:11434

# 3. If using Linux and host.docker.internal doesn't resolve:
#    Stop and recreate with network host mode:
docker stop open-webui && docker rm open-webui
docker run -d --network host -v open-webui:/app/backend/data --name open-webui --restart always ghcr.io/open-webui/open-webui:main
# Then Ollama URL becomes: http://127.0.0.1:11434
Error 2: "permission denied while trying to connect to Docker daemon"
Cause: Your user is not in the docker group.
Fix: sudo usermod -aG docker $USER then log out and back in.
Error 3: Port 3000 Already in Use
Cause: Something else is using port 3000.
Fix: Change the port mapping: -p 3001:8080 then access http://localhost:3001.
Error 4: Document Upload Not Working (RAG)
Cause: Missing embedding model or configuration.
Fix: Open WebUI handles RAG natively. Go to Settings → Documents and verify the embedding model is configured. It downloads automatically on first use.
Safe Defaults / Security Warning
⚠️ Security
Open WebUI binds to localhost by default — this is safe. Do NOT port-forward or reverse proxy it to the internet without enabling authentication. Open WebUI has built-in user accounts — use them. Never disable auth. See Local AI Security Mistakes.
Recommended Setup (Tiered)
| Level | Setup | Notes |
|---|---|---|
| Beginner | Docker default (port 3000) | Works out of the box. One admin account. |
| Intermediate | Docker + multi-user + auth | Enable user registration or invite-only. |
| Advanced | Docker Compose + reverse proxy + TLS | Use Caddy/Traefik for HTTPS. For homelab setups only. |
What I Would Do
Run the default Docker command. Do not overcomplicate it. Open WebUI works perfectly with localhost binding and one admin account. Add the document chat feature — upload a PDF and ask questions about it. That is the killer feature that makes it feel like a real ChatGPT replacement.
Frequently Asked Questions
Should I install Open WebUI with Docker or pip?
Docker is recommended - handles dependencies and isolation cleanly: 'docker run -d -p 3000:8080 --add-host=host.docker.internal:host-gateway -v open-webui:/app/backend/data --name open-webui ghcr.io/open-webui/open-webui:main'. Pip works but requires manual dependency management.
How do I access Open WebUI from other devices?
It runs on port 3000 - access from another device at http://[your-ip]:3000. For Docker, map with '-p 3000:8080'. For external access, use a reverse proxy or Cloudflare Tunnel rather than opening router ports.
Does Open WebUI support multiple users?
Yes, built-in multi-user support with authentication. First account becomes admin, who can invite users and manage permissions. Each user gets separate chat history. Ideal for families, teams, or organizations.
How do I manage models in Open WebUI?
Open WebUI auto-detects Ollama models in the dropdown. Download new models from Settings > Models by entering the name (e.g., 'llama3.1'). Create custom presets with system prompts, temperature, and document attachments.
How do I update Open WebUI?
For Docker: 'docker pull ghcr.io/open-webui/open-webui:main' and recreate the container - data persists in the volume. For pip: 'pip install --upgrade open-webui'. Updates are frequent (often weekly).
📋 Get the Free Local AI Starter Checklist
Verify your full setup is correct — hardware, install, GPU, security.
Get the Free Checklist →Want this guide as a printable checklist?
Get the free Local AI Setup Checklist delivered to your inbox.
Get the Free ChecklistLast Updated: July 1, 2026 — Verified against Open WebUI 0.4.x, Docker 27.x, Ollama 0.4.0.